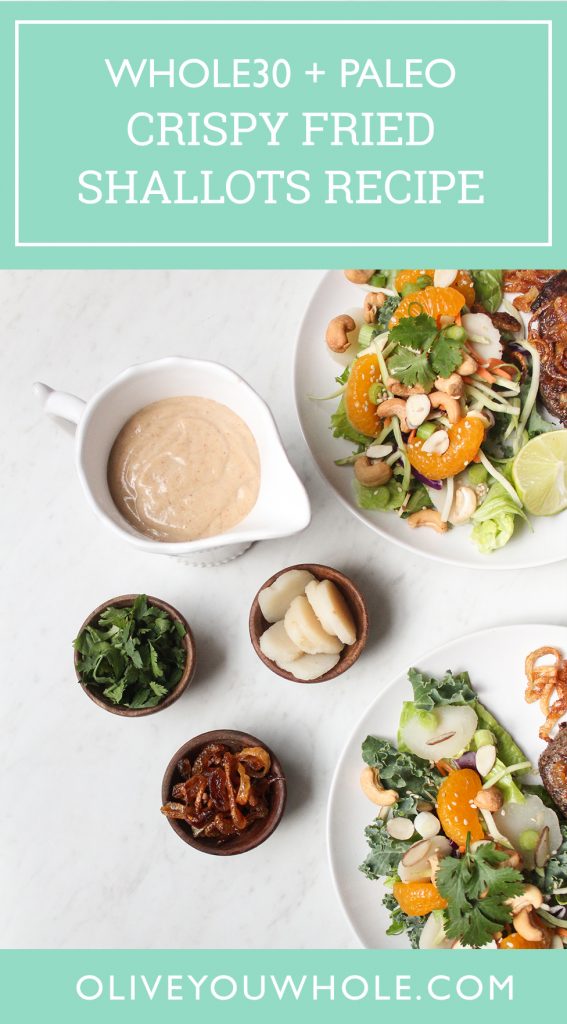
You’re not going to believe how simple and DELICIOUS this Whole30 + Paleo Crispy Fried Shallots Recipe is!
How do you use Crispy Fried Shallots?
The better question is how NOT do you use crispy fried shallots? They are so delicious and can seriously be used on top of ANYTHING.
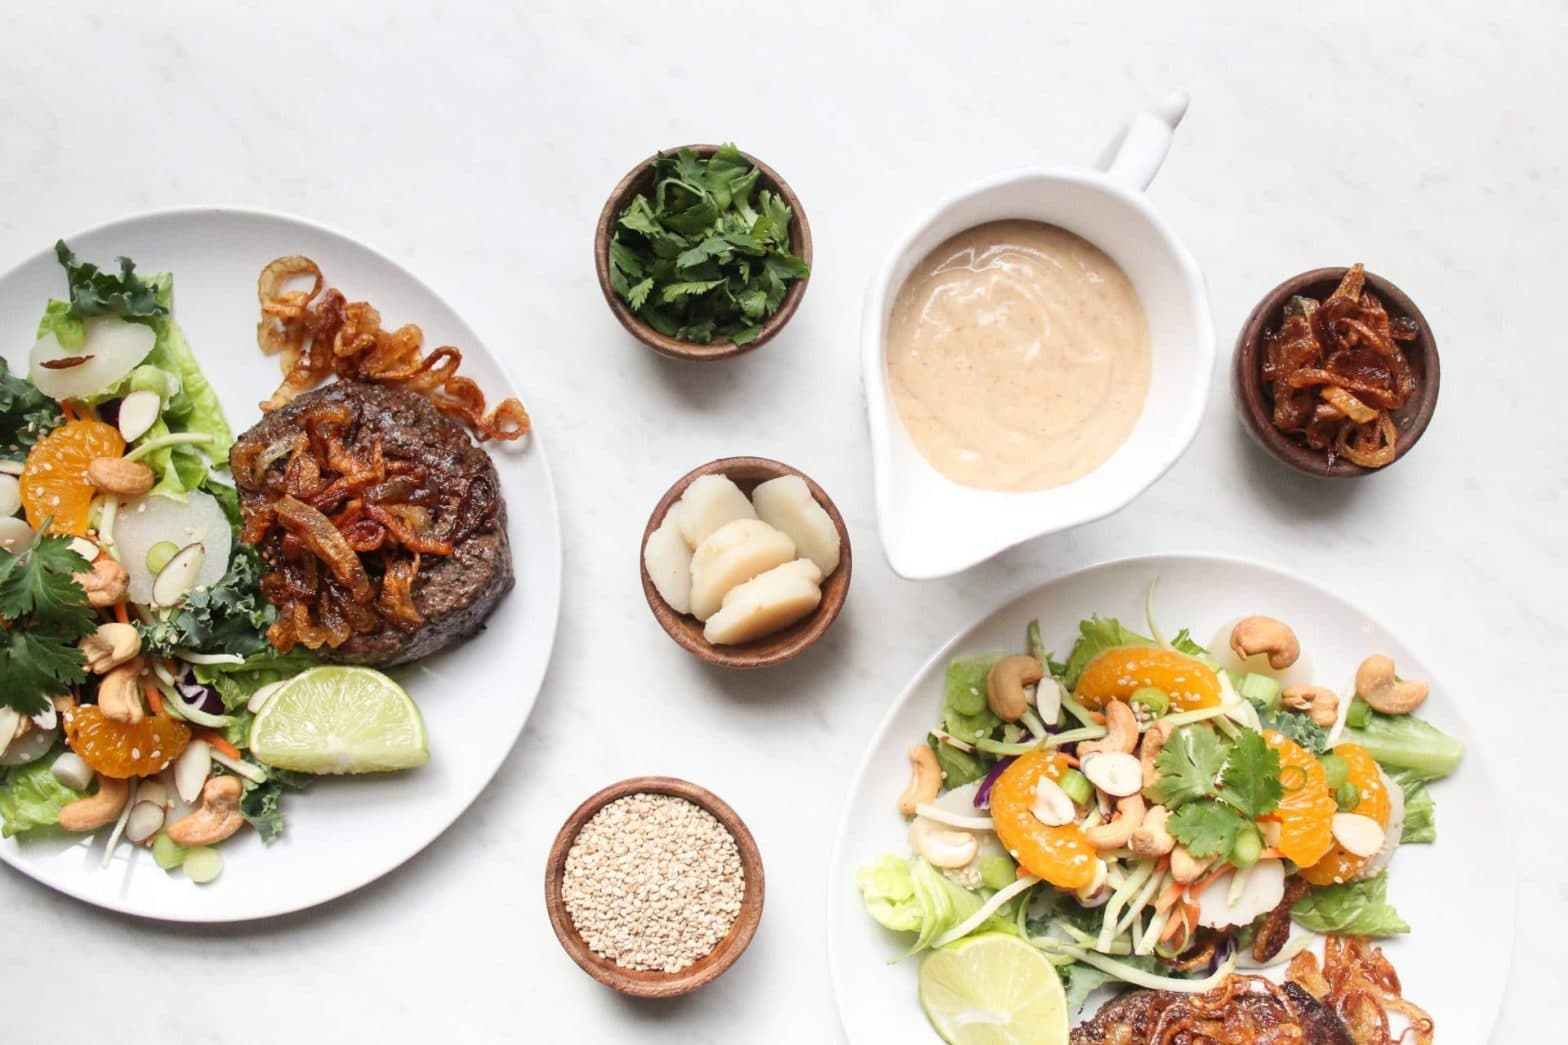
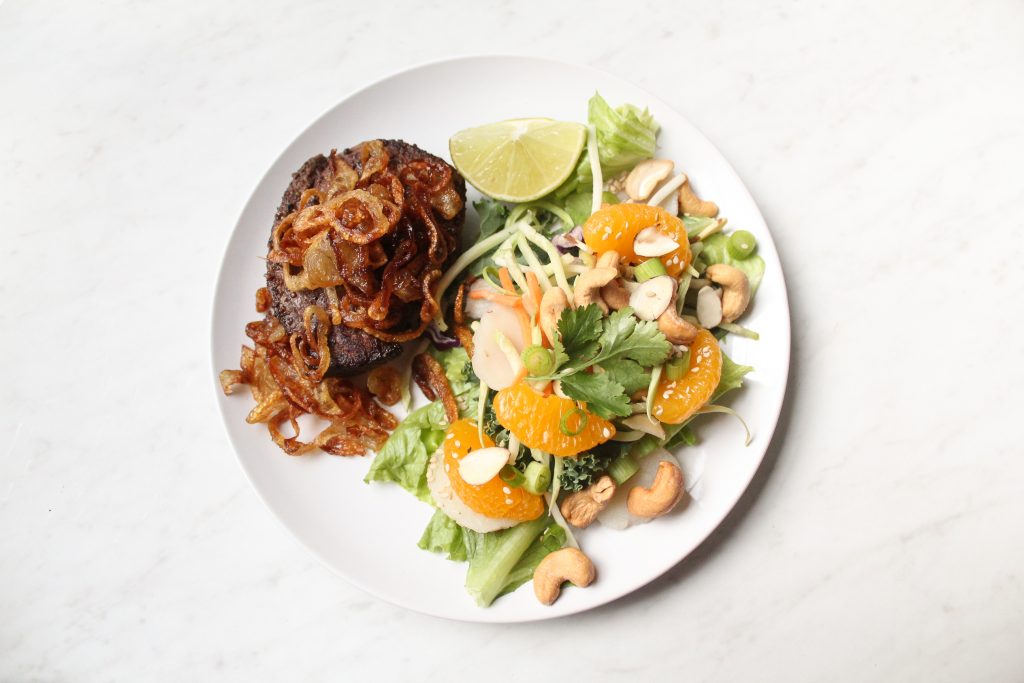
Crispy Fried Shallots are fantastic over pork chops, burgers, even salads! They are especially popular as a condiment in Vietnam- they’re used on top of soups like pho and on top of dumplings.
While they’re best used day-of, you can make them a day before to save time! One of the best parts of making this Whole30 + Paleo Crispy Fried Shallots Recipe is the amazing Shallot Oil that you’re left with! You can use it any way you’d use normal cooking oil, and it majorly packs the flavor! I personally love to use it in homemade salad dressings!
Some of my recipes that call for Crispy Fried Shallots include my Green Bean Casserole Recipe that’s perfect for Thanksgiving! (The recipe calls for my battered French Fried Onions recipe, but you could substitute these Crispy Fried Shallots!) I also use these Whole30 + Paleo Crispy Fried Shallots in this Shallot Filet Mignon Recipe!
Are fried shallots gluten free?
Most crispy fried shallot recipes simply call for a cooking oil and shallots, making them gluten free. In some cases, they can first be battered in flour. If you need gluten free crispy fried shallots, I would make them yourself using my Whole30 + Paleo Crispy Fried Shallots Recipe below. If you want a more battered taste, I also have a gluten free french fried onions recipe here!
How long can you keep fried shallots?
Crispy fried shallots are best when used the same day that you make them! If you store them in an airtight container, they can keep for up to 3-5 days in the refrigerator.
Print
Whole30 + Paleo Crispy Fried Shallots Recipe
Ingredients
1 cup shallots, thinly and evenly sliced
1 cup olive oil
Instructions
In a saucepan, heat 1 cup olive oil to medium.
Once the oil begins to lightly bubble, add the shallots.
Right at 10 minutes of cooking, you will see the shallots start to brown… From this point on you have to keep a close eye on the shallots to ensure they don’t burn!
Add ½ t salt and begin to stir constantly for 5 minutes.
At exactly 15 minutes, turn off the stove. They may not seem entirely done, but they will continue to cook in the oil until all of the shallots are golden brown and crispy.
Remove the shallots from the oil using a slotted ladle. Remove excess oil using a paper towel or rag.
Store the crispy shallots in an airtight storage container in the fridge until you are ready to use them.
Pour the remaining shallot oil into a glass storage container and be sure to use this flavorful shallot oil!
Want to save this Whole30 + Paleo Crispy Fried Shallots Recipe to make later? Pin it here!
